One of the most difficult sections in Bloodborne is the Defiled Chalice Dungeon. If they want to get a platinum trophy for the action-RPG, gamers will have to explore the dangerous maze. If you are having trouble getting through it, you can check out our survival guide below.
Requirements
In order to access the Bloodborne Defiled Chalice Dungeon, you will need to acquire the Defiled Chalice item, which is dropped by the Bloodletting Beast boss at Layer 4 of the Lower Pthumeru Chalice Dungeon. In order to perform the ritual, you will need nine Ritual Blood (4), two Bastard of Loran, 22 Arcane Haze and 5,500 Blood Echoes.
The Ritual Blood (4) and Bastard of Loran items can be found in various Chalice Dungeons. The best way to get Arcane Haze is to use the Workshop Haze Extractor (found in the second layer of the Lower Pthumeru Chalice) and extract from the Ritual Materials in your possession.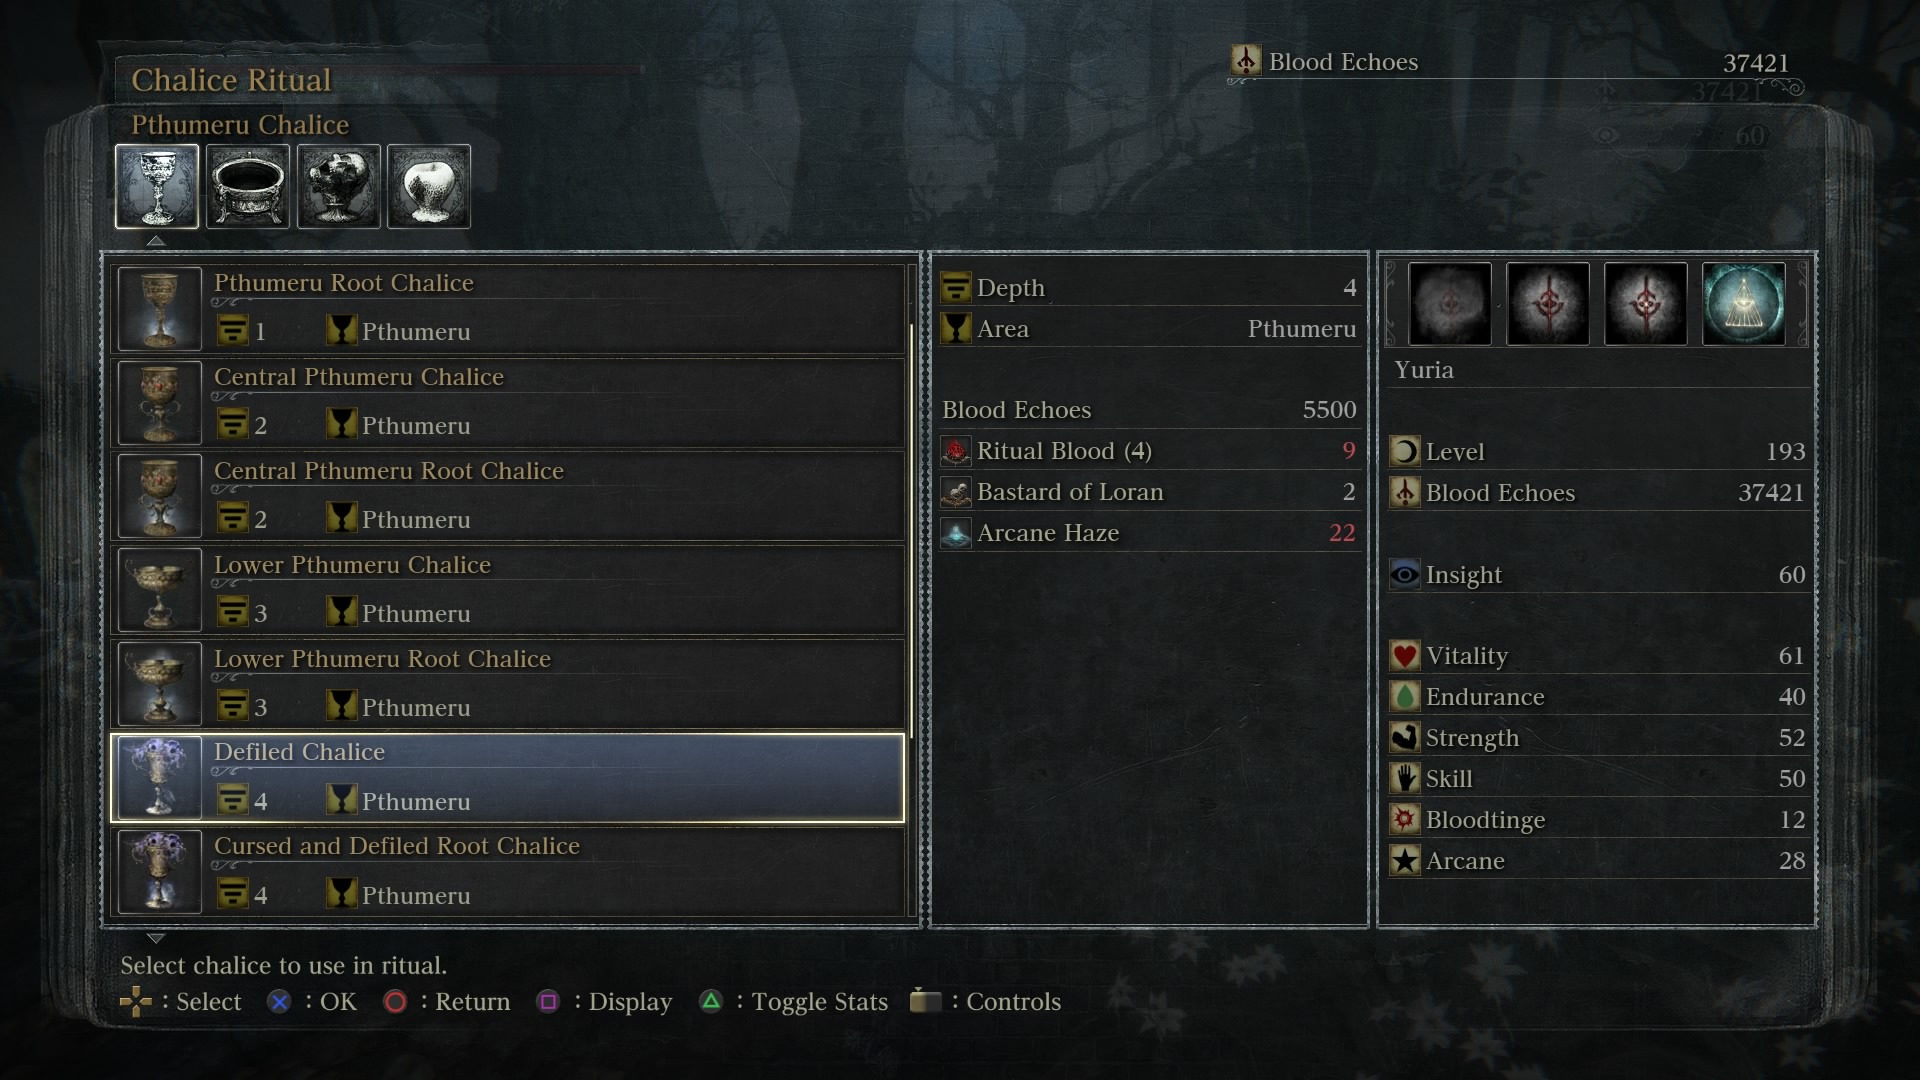
Special Conditions
The Cursed Pthumerian Defilement Dungeon has some special conditions that makes it harder than every other areas of Bloodborne. The biggest caveat is that your health points will be cut in half while Blood Vial recovery has also been reduced. Physical damage will also be reduced for both the players and enemies although elemental damages remain the same.
Before Defiled Chalice Dungeon:
Inside the Defiled Chalice Dungeon: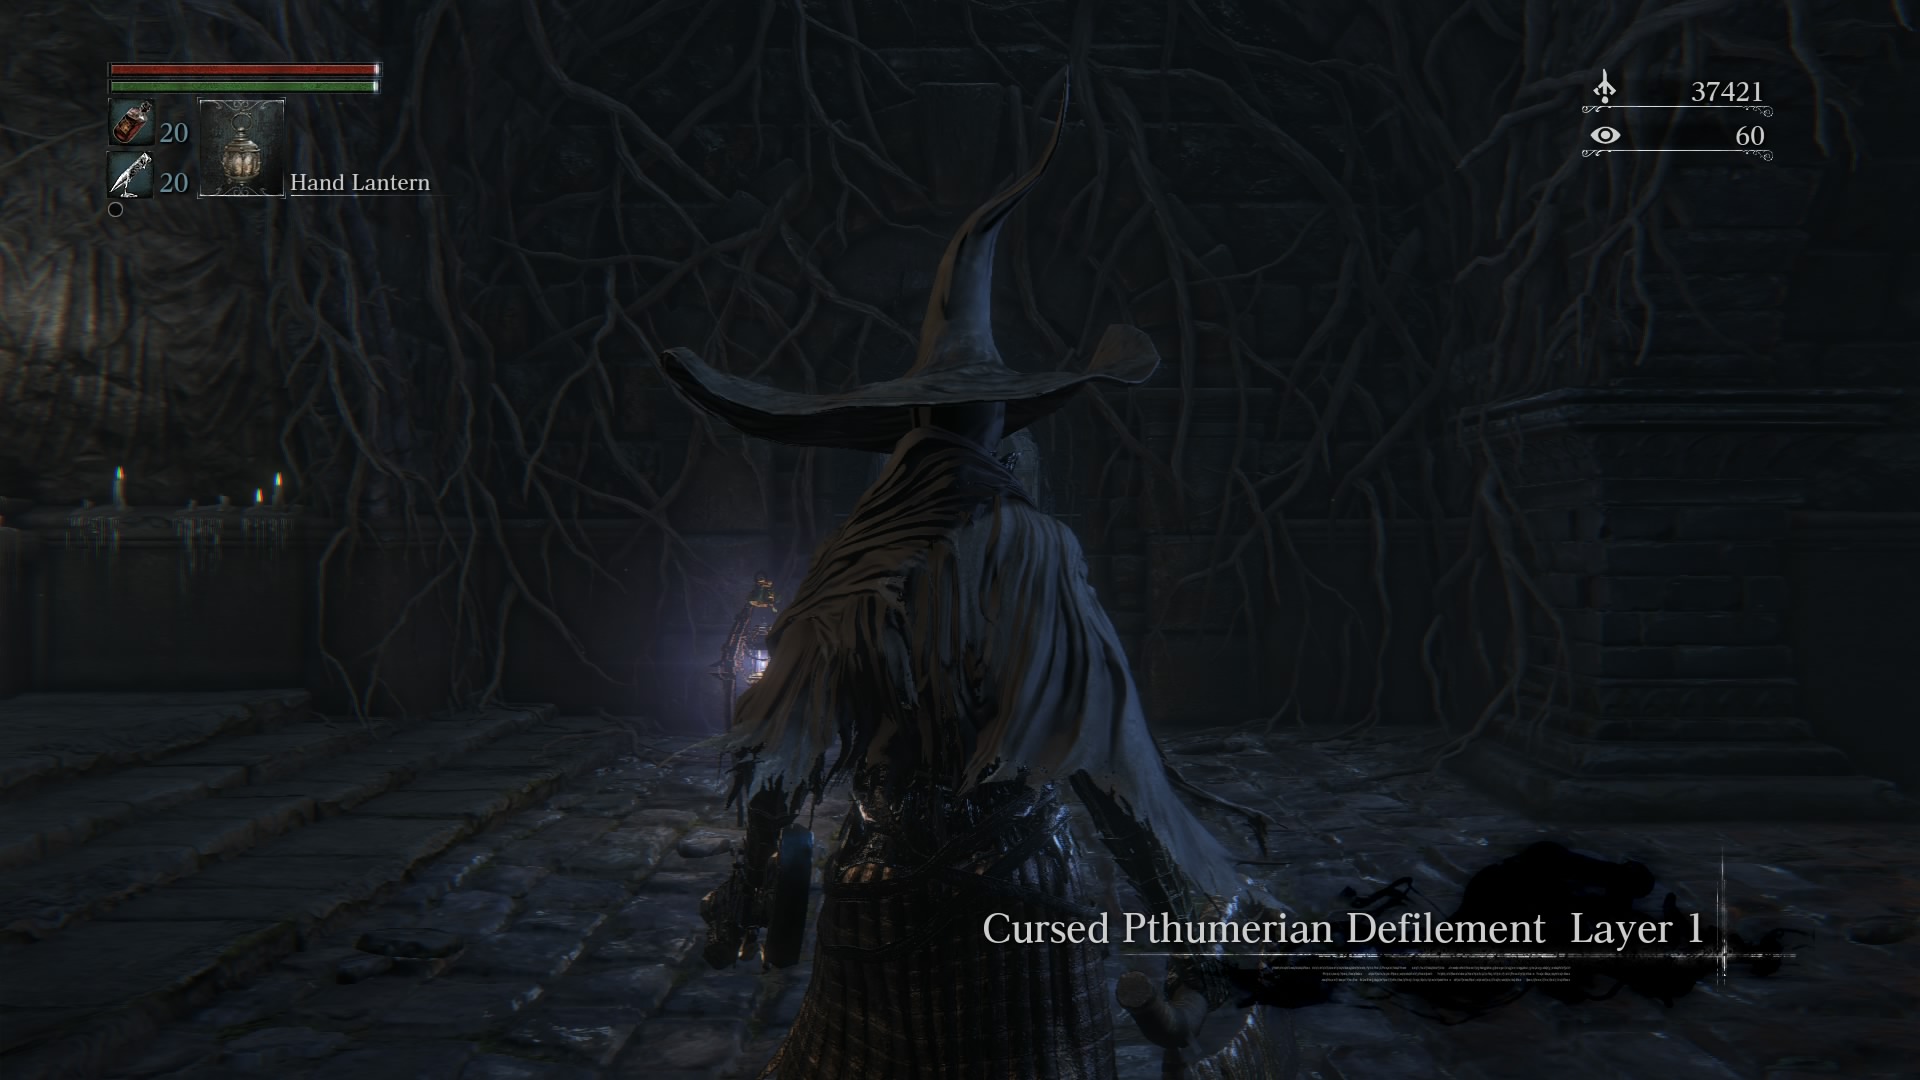 Under these conditions, it is very easy to die in this Chalice Dungeon. In fact, some of the tougher enemies and bosses can even kill you in one hit.
Recommended Stats
Needless to say, you will need to be at a high level, especially if you don’t want to be frustrated during the boss fights in the area. We recommend having a Vitality of 50 (you can add more but you will get diminishing returns after that point) and Physical Defense of 255. It is possible that you can beat the bosses with lower stats when it comes to Vitality and Physical Defense, but your margin of error will be much smaller.
Tips for Exploring the Cursed Pthumerian Defilement Dungeon
You should already be familiar with the layout and enemies in the Defiled Chalice as you play through the other Chalices. This time, however, you will need to be more careful than usual due to your low health.
We suggest playing cautiously, especially when entering a new area. Avoid crowds by baiting one enemy from a group to chase after you (throwing a pebble works great) into a safer area so that you don’t have to fight multiple enemies at once.
You can also simply run your way through as the layers are pretty short. The powerful enemies guarding the boss gate switches can be lure out of their position, giving you a small window to activate the switch. So, even if you get killed in the process, you will spawn at the start of the layer next to the opened boss gate.
Boss Preparations
The real challenges from the Cursed Pthumerian Defilement Dungeon are from the boss battles. To prepare for these tough fights, we suggest equipping the Communion Caryll Runes, which increases the maximum amount of Blood Vial held. This is because you want to stay as close to max health as possible so that it will increase you chance of survival when you get hit once and survive. You should also equip the Radiance Rune as your Oath Memory to increase the effectiveness of the healing item.
Defensive Lake Runes, especially those that protect against physical and fire (in the case of Keeper of the Old Lords and Watch Dogs of the Old Lords) strikes, will also be helpful. For items, stack up on plenty of Bolt Paper to get added elemental damage with your strikes.
One last thing that you may want to do is to backup your save, either through cloud storage on PlayStation Plus or with an external USB device. Since you will most likely die multiple times, you are going to lose a lot of Blood Vials and Bolt Papers. Instead of wasting time accumulating both of these items again, you can just reload the backup save file. You can check out the strategies for beating the three bosses in the dungeon below.
Defiled Keeper of the Old Lords in Layer 1
Keeper of the Old Lords is a souped-up version of a regular enemy that you find in the Chalice Dungeons. The boss is not that hard as the others you can interrupt her melee attacks by parrying and then performing a visceral attack (make sure you quickly dodge back afterwards as she will most likely retaliate after being attacked). If you have a long range weapon, you also has a range advantage when compared to her striking distance, which should let you get off one or two hits before she can react. You only have to worry about her medium-range flame strikes, which can be easily dodged.
After taking down her HP, she will eventually apply fire to her staff and become more aggressive. With that said, you will be fine as long as you don’t get too greedy with landing more than one or two strikes at a time.
Defiled Watch Dog of the Old Lords in Layer 2
Arguably the hardest boss fight in the game, the Defiled Watch Dogs of the Old Lords can be a pain. One of the safest way to defeat the creature is to get in front of him and wait until you can see his head tilt up in the air, preparing to swipe down at you. If you time it right, you can dodge the attack to move right next to his body, giving you a small window to attack the dog one or two times before dodging away again. Sometimes, the boss will use the same head strikes twice, so you have to really pay attention to his animations.
The other opportunities where you can safely attack is when the Watch Dog of the Old Lords charges directly at you, which leaves him with his back turn to you for a few seconds if you dodge his lunging attack (which should be easy even though it can kill you with one hit if you mess up). The best opportunity to strike is when he is about to vomit flames on the ground. During this phase, quickly run to his side and get off a few hits and then back away.
During the second phase of the battle, the Defiled Watch Dog of the Old Lords will vary his frontal attacks a lot more, which makes the first method of dodging is head strikes to attack a lot harder. Instead, you are better off keeping a long distance away from him until the dog either charges at you or begin to vomit. You should also steer clear of the boss when you see him gathering embers as he is about to perform a powerful explosion.
The key to this battle is patience as you will be dodging and running away a vast majority of the time, especially during the second half. As long as you pick your spots, you should be able to overcome the extremely difficult battle.
Defiled Amygdala in Layer 3
The last boss in the Defiled Chalice Dungeon is also quite difficult as Defiled Amygdala has an extremely long range when it comes to attacks. The safest way to fight her is by circling around the moster until you reach the tip of her tail. Doing so will limit her attacks to a foot stomp as well as swipes from hrt back arms. These can be avoided if you stay out of range by being on the tip of her tail.
Occasionally, she will jump. At this point, it is crucial that you stay still as Amygdala will land on top of you (without hurting you), leaving her head exposed. You should be able to get off a hit to her head (which deals considerably more damage than attack her tail) and then roll underneath her to her tail once again.
When you get her HP down enough, she will actually be much easier to deal with as she will rip off her two arms from the back. If you keeping attacking her backside during this phase, she will jump to a new area, run after her and get off a few strike on her backside (at this point, you only have to worry about her slow stomps). Rinse and repeat when she jumps into a new area and you should eventually kill her.
Beating Defiled Amygdala will get you the Pthumeru Ihyll Chalice, where you can kill a boss at the end that will unlock a trophy for Bloodborne.